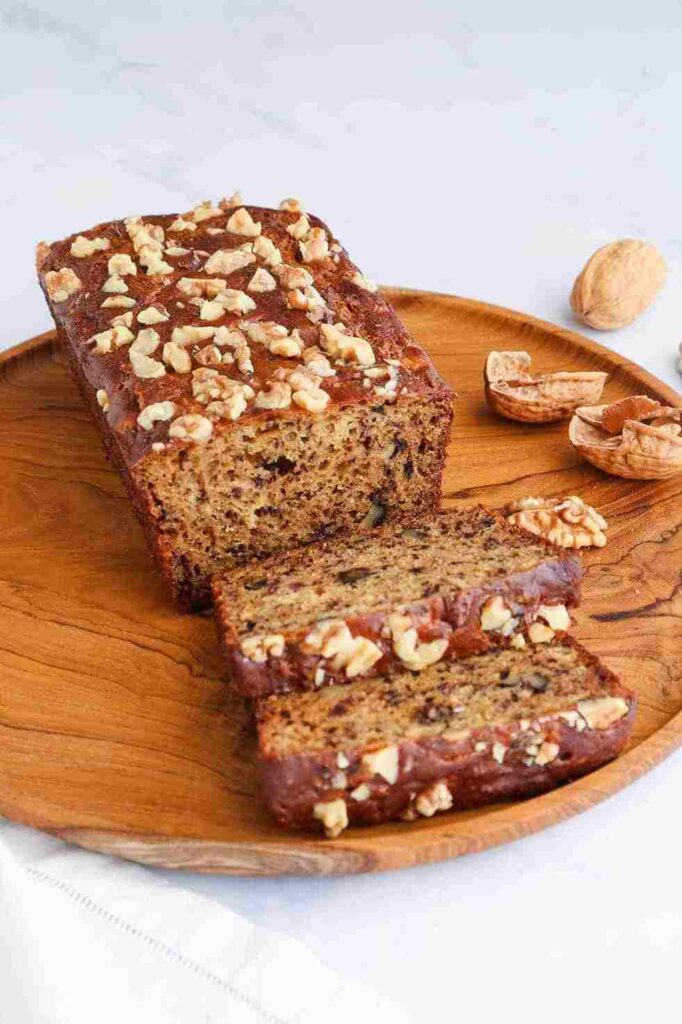
Banana and walnut, we also called it Banana and Walnut loaf or Banana Walnut cake. It is a beloved timeless classic food. This delicious treat combines the sweetness of banana with rich and nutty walnuts creating a flavorful bread. This bread is perfect for dessert, snacks, and breakfast.
The Most famous banana and walnut bread is made with just a few ingredients that are most commonly found in every kitchen, it is incredibly easy to make. Even newcomer bakers can also whip up a delicious loaf with very little effort. Ripe banana and Walnut creates a melodious blend of texture and flavor.
In this article, I have mentioned the history, steps to preparation, baking, and serving banana and walnut bread, and tips to make it even more delicious, so let’s begin the delightful journey of banana and walnut loaf.
Contents
History and Origin:

History of Banana and Walnut bread:
- Banana and walnut bread gained popularity in early to the mid-20th century in the United States.
- During the difficult period in American history, people used most of the ingredients on hand like ripped bananas.
- Rather than wasting this wrapped banana creative cook found a way to reuse this fruit to make the delightful baked recipe.
- The banana bread recipe started to appear in famous cookbooks in 1930.
Origin of Banana Walnut bread:
- The origin of walnut banana bread is a desire to minimize food wastage.
- The home cooks used this ripped banana to make cake-like bread.
- As banana bread gains popularity the variations get added nuts, walnuts, and choco chips for flavoring.
- During World War II food wastage was not a practical choice for people, the simple classic ripped banana bread was most popular at that time and till now.
Ingredients and Equipment:

Ingredients to make banana walnut bread:
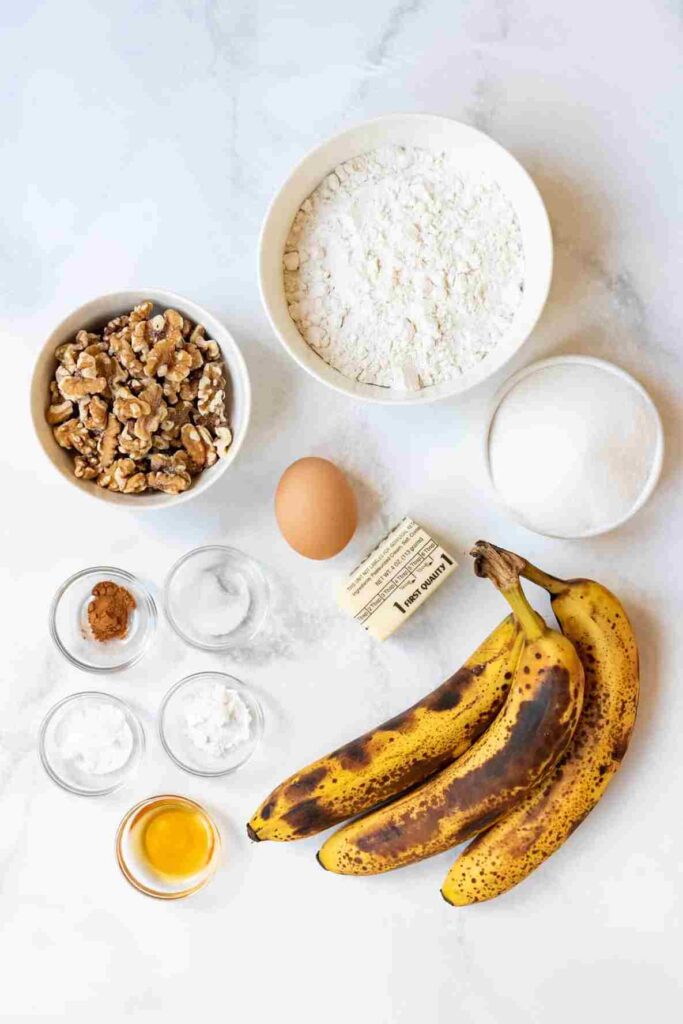
You will need the following ingredients to make banana walnut bread:
- 2 to 3 ripped finely crushed bananas
- 1/2 cup melted butter
- 1/2 cup chopped walnut
- 1 1/2 cups all-purpose flour
- 1 cup white granulated sugar
- 2 eggs
- 1/2 tsp vanilla extract
- 1.2 teaspoon salt
- 1 teaspoon baking soda
- 1/2 cup brown sugar
Importance of using ripe banana in this recipe:
- Ripe bananas are naturally sweeter because their starch gets converted into sugar, which boosts the flavor of bread
- When a ripped banana gets softer and moister, it enhances the tender and crumb in the moist bread
- Using ripped bananas is a great way to minimize the wastage of food and convert it into delicious food.
Equipment needed to make a loaf:
- Mixing bowls
- Mixer or whisk
- Measuring cups and spoons
- Loaf pan
- Oven
Preparation Steps:

Preparing Banana’s:
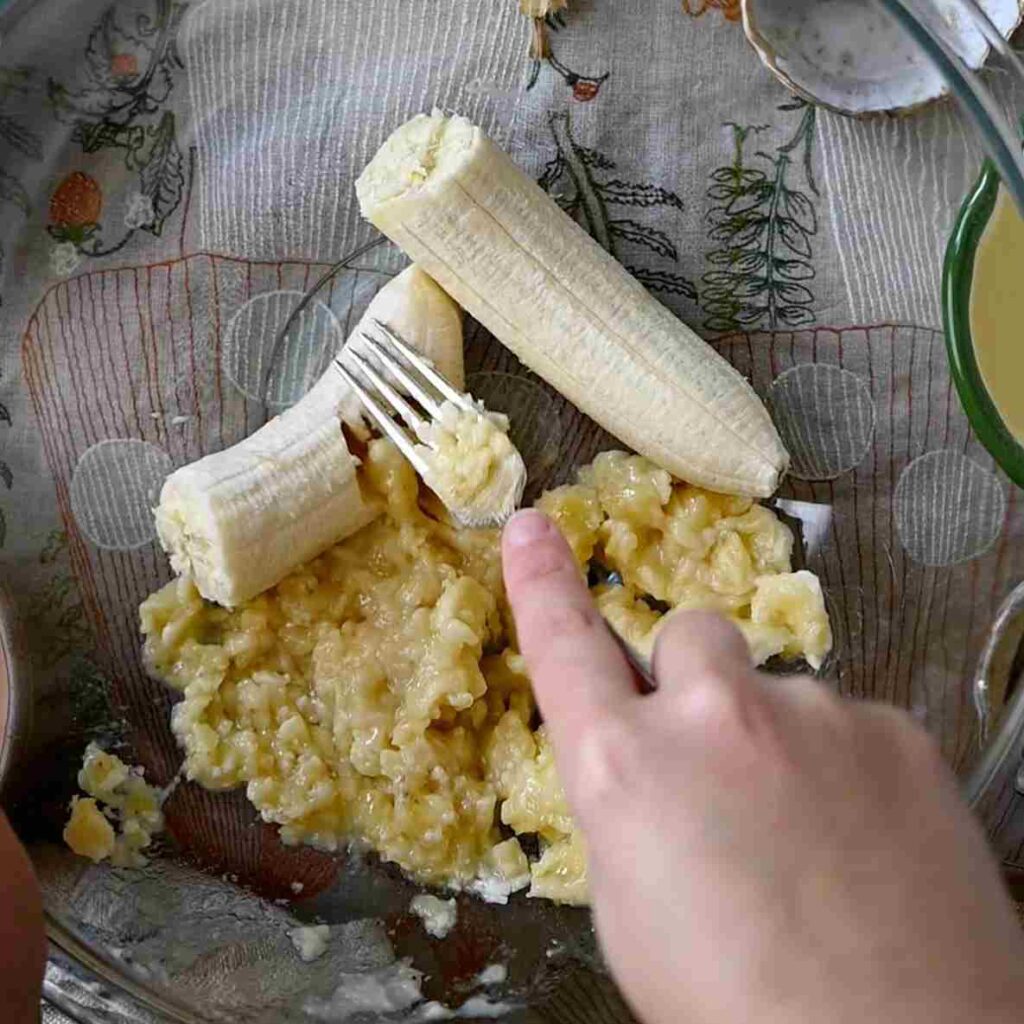
- Mashing: Mash the bananas in a mixing bowl using a potato masher or fork until they get smooth and large lumps-free. Mashed banana provides the moister and natural sweetness to your bread.
- Blending: You need to use a blender or food processor to blend the banana until it turns into a smooth puree. The process of blending ensures the plain lumps-free puree.
Step-by-step process of combining ingredients:
- Melt the butter: Melt the butter on the stovetop or in the microwave and let it slightly cool in the bowl, it should be warm but not very hot.
- Mix sugar: When the butter gets cool a bit mix 1 cup of granulated sugar in melted butter in the bowl. Use a whisk or mixer to blend sugar and butter together until it gets a smooth texture.
- Add eggs and vanilla extract: Add 2 eggs and 1 teaspoon of vanilla extract to the mixture of butter and sugar. Continue mixing until the egg gets fully mixed into the mixture until becomes a smooth and creamy texture.
- Add mashed Banana: Add the mashed bananas to the mixture in a bowl. Gently stir them until gets combine finely.
- Combine dry ingredients: Now combine dry ingredients like all-purpose flour, baking soda, and salt.
- Gradually add mixed dry ingredients to the mixture: gradually add dry ingredients to the wet mixture. Use a spoon to mix the dry ingredients with the wet mixture until it gets a smooth paste.
Achieve the perfect batter consistency:
- Do not overmix: When combining wet and dry ingredients just mix them well till the batter gets combined finely. overmixing makes a dough tougher.
- Use room temperature ingredients: For best results use room temperature egg and butter, this helps to make the batter smoother.
- Mix walnuts carefully: At the time of adding walnuts to the mixture, stir it well with a spoon. Mixing smoothly can preserve their texture.
Incorporating Walnuts:
Benefits of Walnut to banana bread:
- Crunchy texture: Walnut adds crunch to the soft moist texture of the banana. This mixture of soft and crunch makes the bread very delightful.
- Nutritional value: Walnuts have great nutritional values that are protein, omega-3 fatty acids, and antioxidants. Adding them to banana and walnut bread can provide more nutritional value to the bread.
- Nutty flavor: The nutty flavor of walnuts combines with the sweet ripe banana flavor to create a harmonious flavor.
- Visual appeal: The walnut can add the visual appeal of the banana bread by adding a touch of elegance.
Options for modifying and substituting Walnuts:
- Chocolate chips: You can add chocolate chips instead of walnuts to add sweet crunch to your bread. the combination of chocolate and banana is delicious.
- Pecans: Pecans have the same test and texture as walnuts you can add a delightful taste to the bread.
- Dry fruits: You can add dry fruits like raisins, and chopped dates can add natural sweetness and different flavors to the bread.
- Seeds: you can add Pumpkin seeds, sunflower seeds, and chia seeds to the banana bread, it can add nutritional value to the bread.
Also Read: Irresistible Cinnamon Banana Bread Recipe
Baking and serving:
Baking time and temperature guidelines:
- The standard temperature for baking banana and walnut cake is 350o F, so preheat the oven.
- The baking time of banana and walnut loaf is 60-70 minutes. Ensure your bread is perfectly baked start checking for doneness for 60 min marks.
Tips for testing bread doneness:
- Toothpick test: Insert the toothpick or cake tester into the center of the bread if the toothpick comes out clean then it is a sign that the bread is done
- Visual test: the bread gets pulled away from the side of the pan and it turns into a golden brown color and its top feels firm to the touch.
- The internal temperature of bread: If you have a kitchen thermometer then insert it into the bread middle and if it reads around 200o F then the bread is done
Suggestion for serving Banana and Walnut bread:
- You can slice the bread and enjoy plain bread as it is
- Toast a slice of banana and walnut bread and spread some butter on it
- Banana and walnut bread paired with coffee or tea perfectly, these flavors complement each other perfectly.
- You can eat the bread as a dessert with a scoop of ice cream or caramel sauce
Varitions and modifications:
Alternative ingredients:
- Chocolate Chips: Add a cup of chocolate chips to the mixture of bread to delicious chocolate twists as a combination of chocolate and banana is the most popular.
- Shredded coconut: Add 1/2 cup of shredded coconut to the mixture of bread to get tropical flavor.
- Berries: Add a cup of fresh berries like raspberry, and blueberries to add more burst of color and tartness
- Spices: Add some spices like cinnamon or nutmeg, to add a warm and different type of aroma to the bread
- Nut butter: Add a few tablespoons of nut butter like peanut butter, and almond butter into the mixture to enhance the taste.
Potential adaption for Dietary needs:
- Gluten-free banana bread: To make bread gluten-free use gluten-free flour, as well as use other gluten-free ingredients.
- Vegan banana bread: To make vegan banana bread use 1 tablespoon of ground flaxseed mixed with 3 tablespoons of water instead of using egg, use vegan or plant-based dietary butter, and use all vegan ingredients instead of normal ingredients.
- Reduced sugar: If you want to go for low sugar option then reduce granulated sugar
- Whole wheat flour: Instead of all-purpose flour you can use whole wheat flour to add extra fiber
Tips and tricks:
Additional tips and tricks:
- Use very ripe bananas, ripe bananas make the bread sweeter and more flavourful
- Use room temperature ingredients like egg, and butter which can be mixed easily with batter, and the bread will be more delicious.
- Don’t overmix the mixture, mix until it gets fine batter, overmixing makes the dow tougher.
- While using a toothpick to check the doneness of bread, check on a few different spots for conformations.
- Let the banana bread cool for 10 to 15 minutes in a pan and then make the slices.
- To keep your banana bread fresh for a long time keep it in an airtight container
Troubleshooting issues and solutions:
- If your bread gets too dense, it’s because of overmixing or too much flour. try to mix fix until get a fine paste only and measure the flour before use.
- If the bread gets too dry, it’s due to baking, to avoid that check the bread with a toothpick and if done remove it as soon as possible.
- The banana bread gets cracked on top, it’s due to the high temperature of the oven so slightly lower the temperature and put the pan on a lower rack
- If the walnuts sink at the bottom of the bread, try tossing them into a small amount of flour, and then it spreads evenly and will not sink at the bottom.
- The center of the bread sinks after baking means it’s not done or has not been baked evenly properly while checking make sure that the toothpick comes out clean to the right doneness.
Conclusion:
The Banana and Walnut bread is a timeless classic and delightful breakfast or dessert that is cherished for its versatility, deliciousness, and heartwarming qualities. A perfect blend of ripe sweet banana and crunchy walnut results in a delightful flavour and texture. You can enjoy the bread as plain toast or as a dessert.
If you haven’t yet tried this delicious banana and walnut cake, I encourage you to plunge into this delightful baking adventure. The joy of making this timeless classic with your hands and in your own kitchen and serving this to your loved ones will be the most rewarding experience for you. So take this ripped banana, follow the recipe, and make the delicious timeless classic, and your tastebuds will thank you. Happy baking…

